Discrete Session
The discrete session is backed by the VTK. VTK data structures are used to represent the geometry. The model could be either 2D or 3D. In this section, we introduce some features of the discrete session, however, they are not necessarily exclusive to the it.
Add Auxiliary Geometry
As mentioned in The Polygon Session, auxiliary geometry can be added to the model. To illustrate this, open up ChesapeakeBayContour.cmb, then click Model - Add Auxiliary Geometry, and select ChesapeakeBay100x100. You should see both the model and auxiliary geometry on the screen.
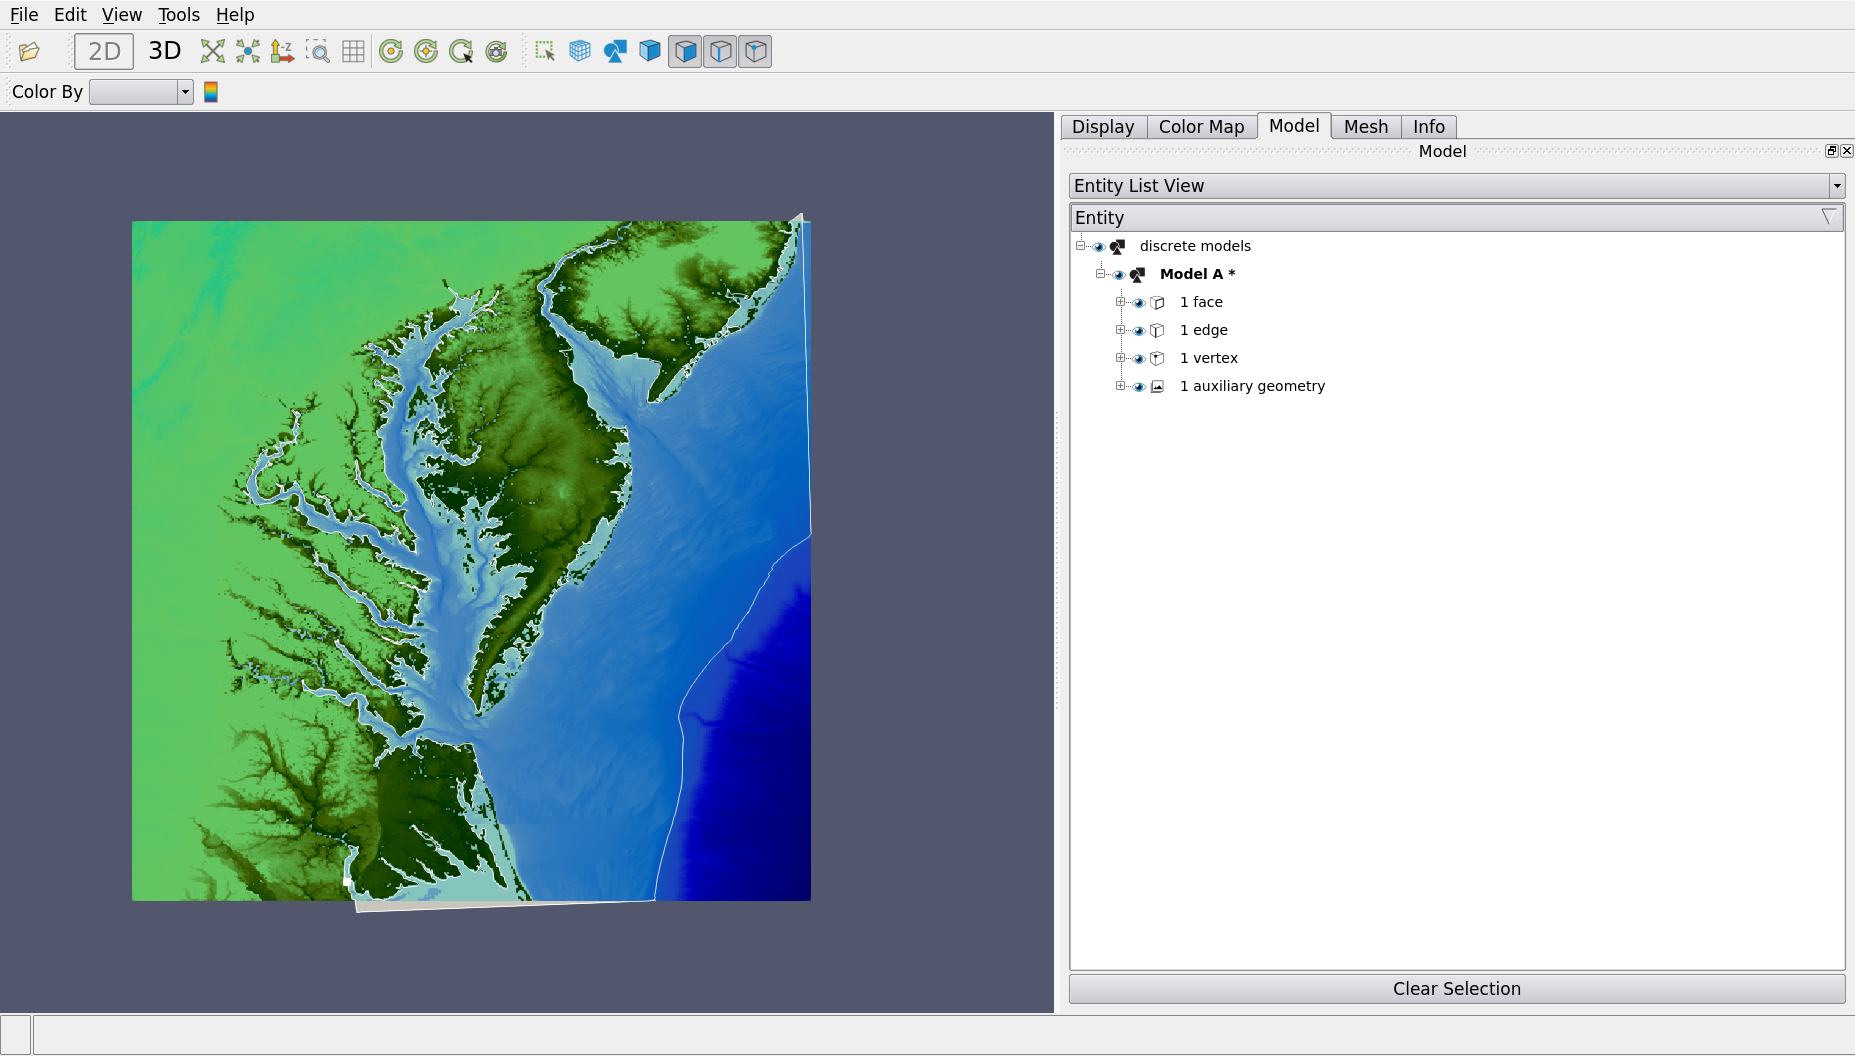
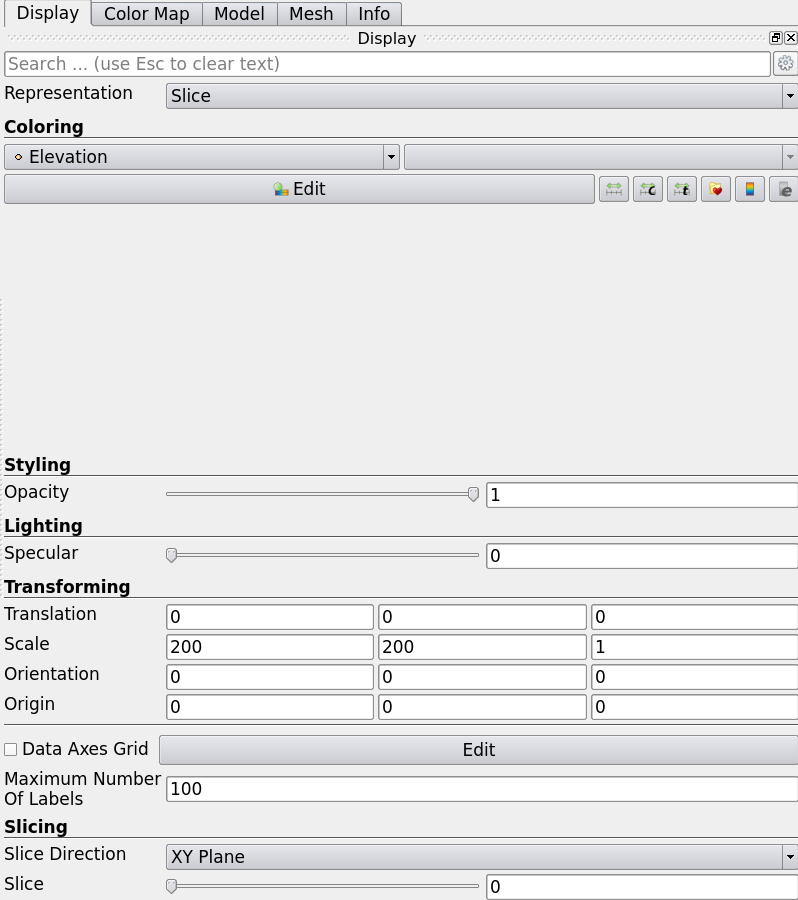
Once we loaded an auxiliary geometry, we can do more things with it. For example, apply bathymetry. Before that, let us scale our model first, because in this particular example, the size of the model was scaled but the bathymetry data was not. Go to the Display tab and enter (200, 200, 1) in the “Scale”.
Apply Bathymetry
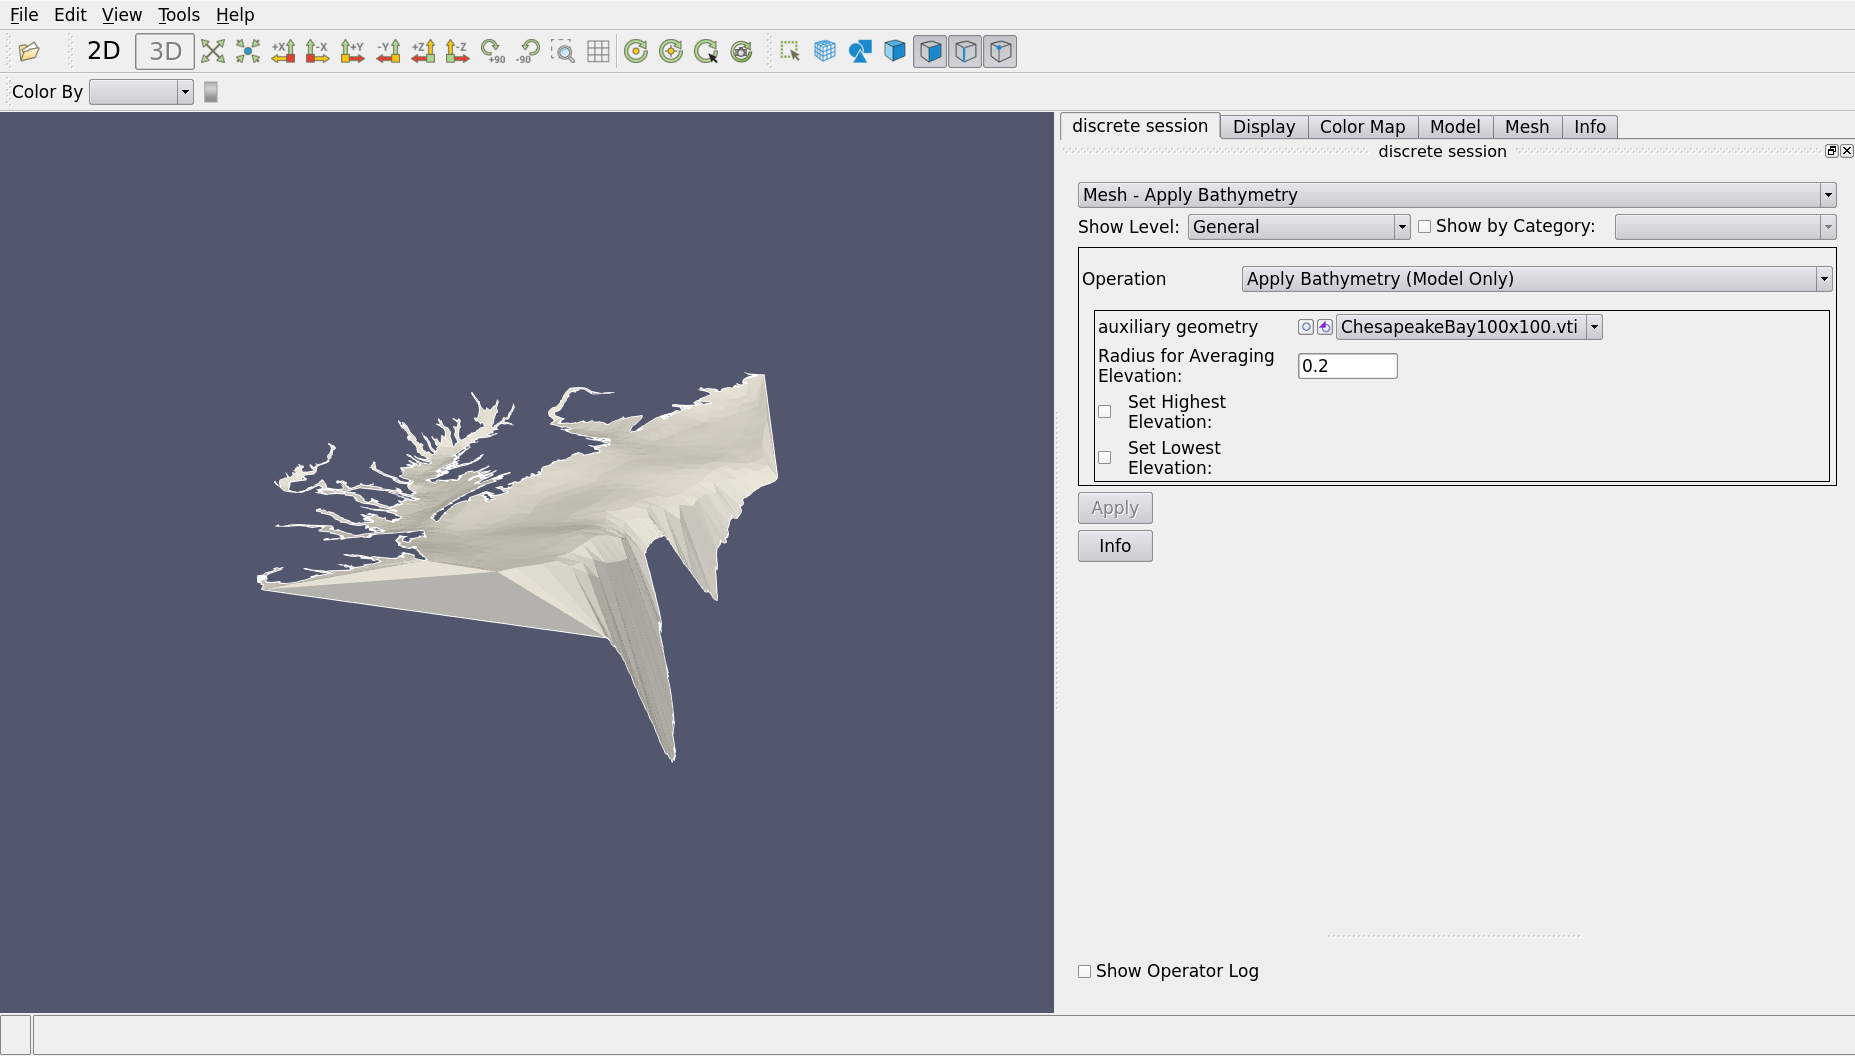
This allows for adding depth to 2D models. Right-click on the model in the entity tree, select Mesh - Apply Bathymetry. In the following window, select the operation: bathymetry can be applied to model or mesh or both. Here we choose model only. Then specify the auxiliary geometry to be used and the radius for averaging elevation, which is the search radius of every point to look for other points to modify. Highest/Lowest Elevation can be used to set a hard cap for the generated elevation.
Toggle to 3D view, you can see the bathymetry is applied to the model as Z-coordinate. The “Remove Bathymetry” option reverts this elevation operation.
Create Edges
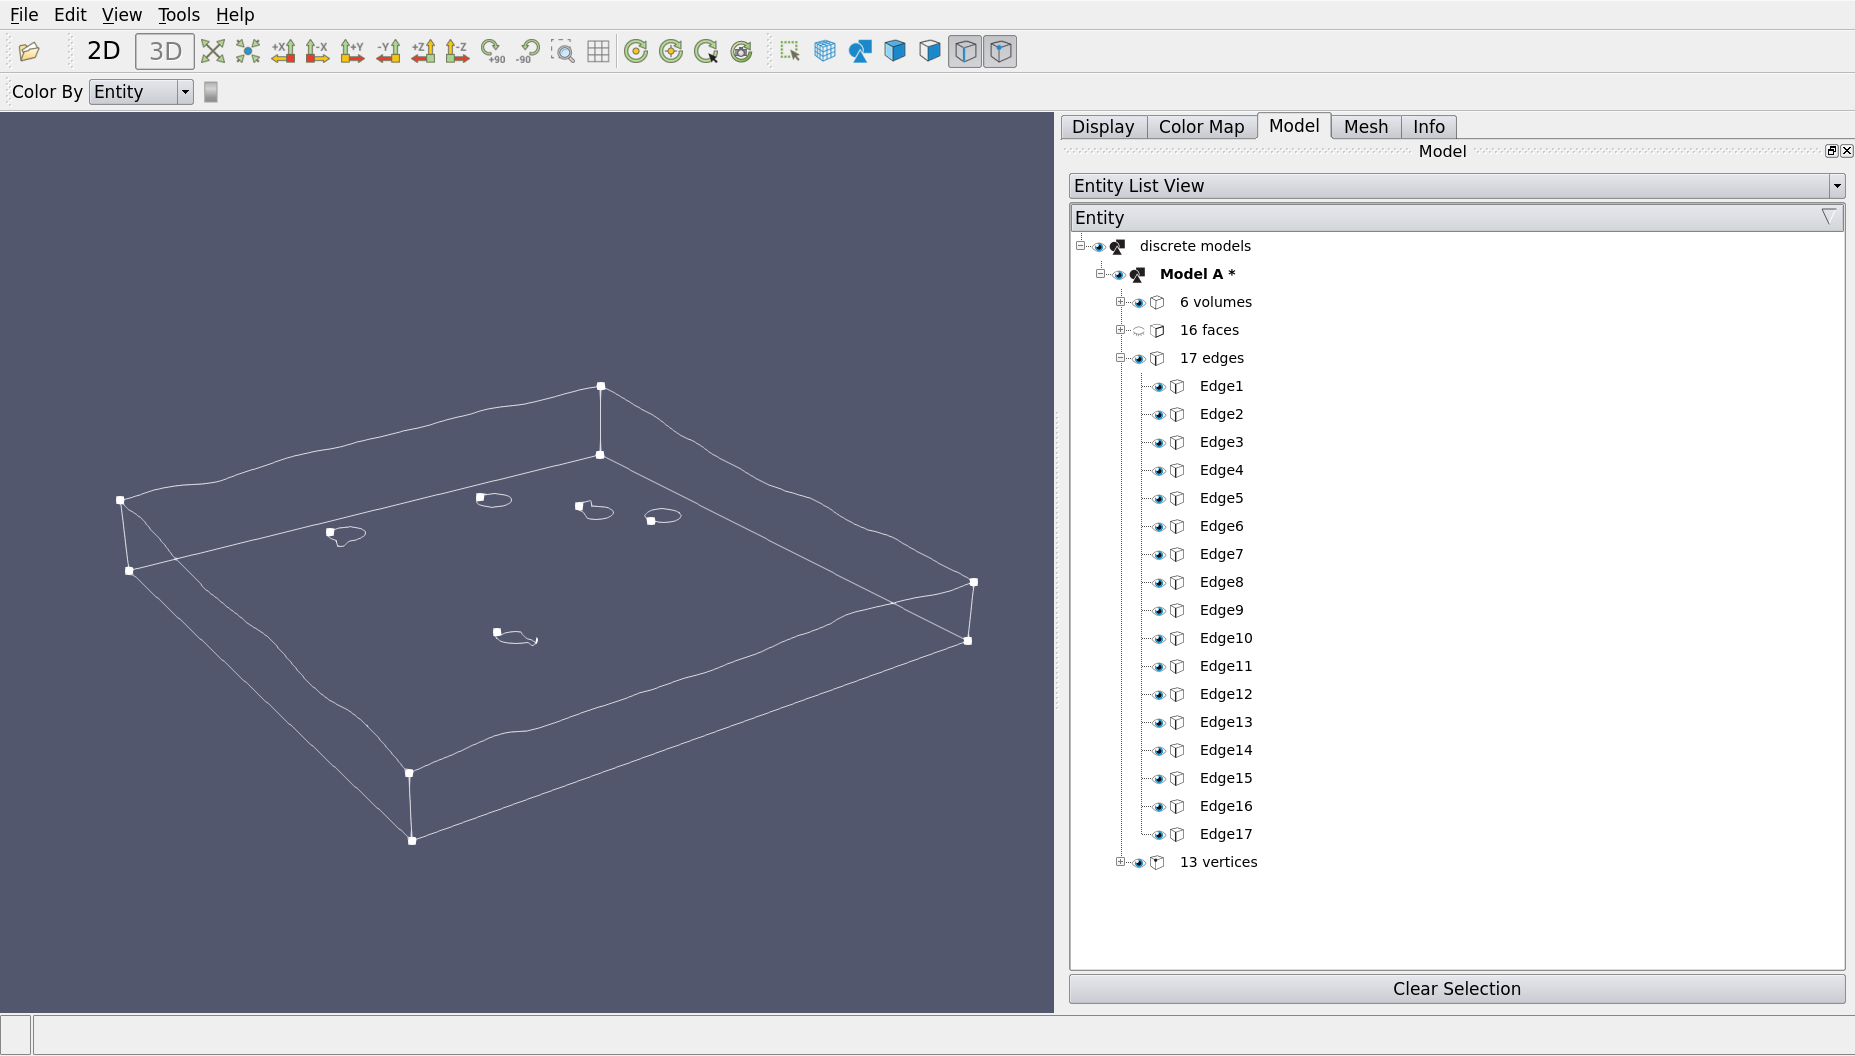
This creates edges on the boundaries between faces. Use smooth_surface.cmb as an example, right-click on the model and select create edges, and specify the model in the next window, the edges will be automatically created at the intersections of faces. The following figures show the entity tree before and after the Create Edges operation.
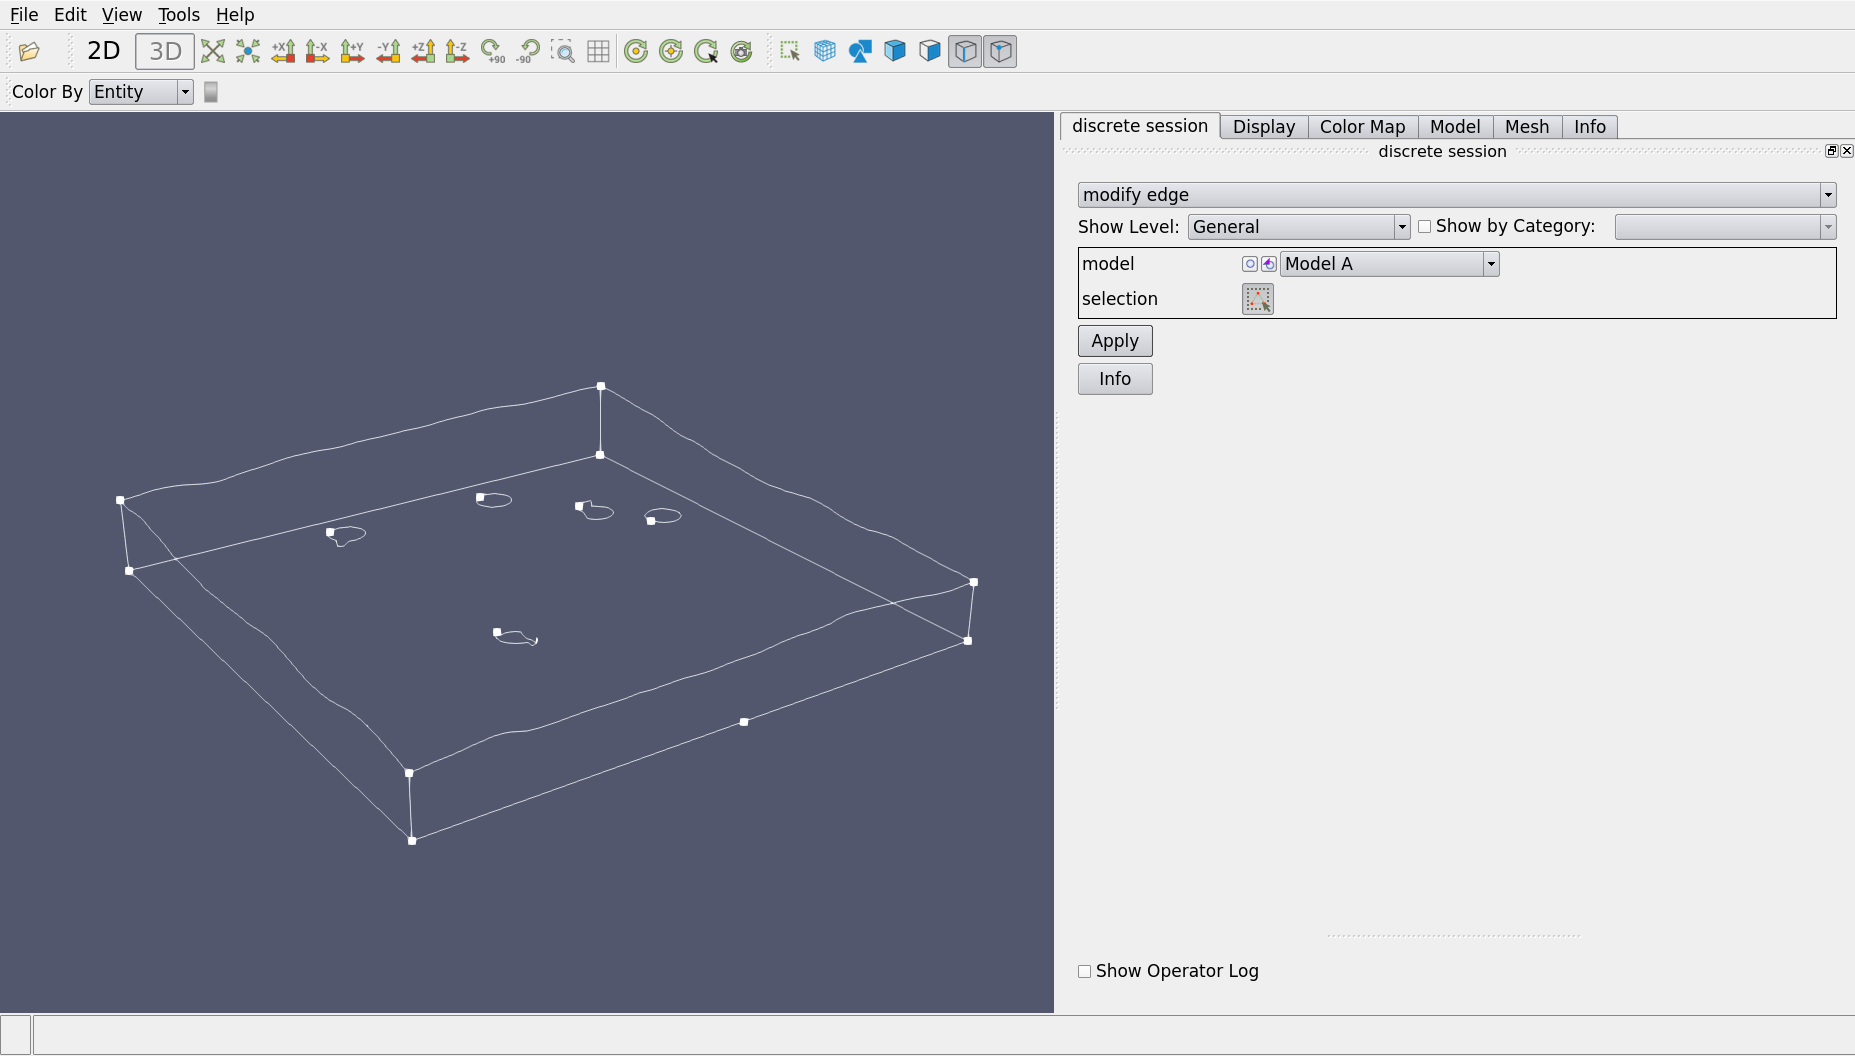
Modify Edge
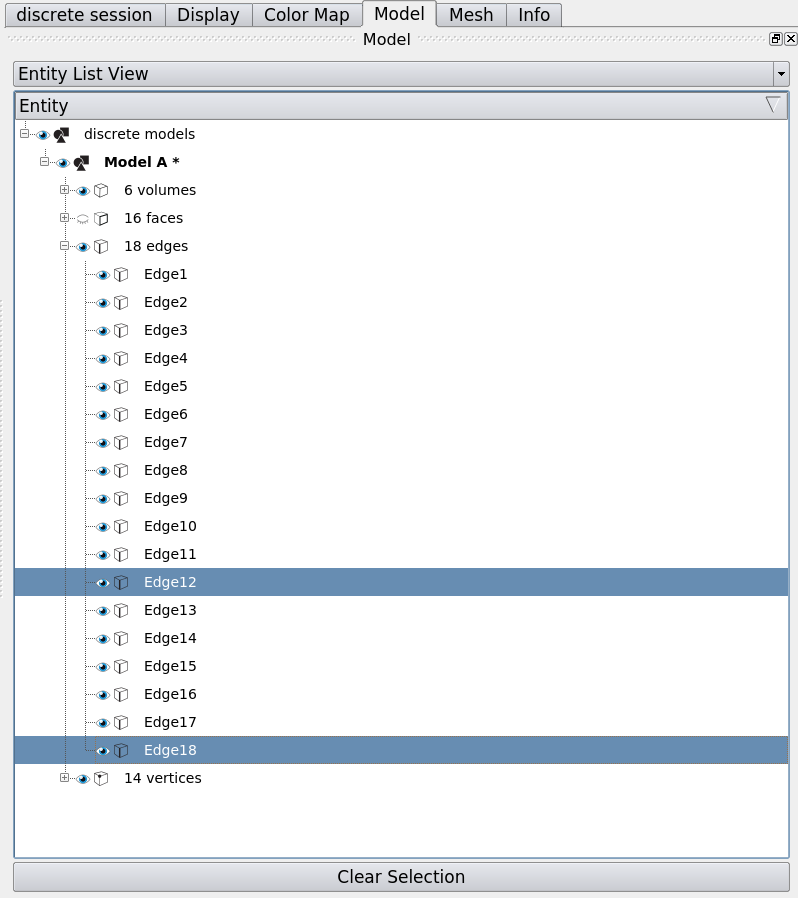
Continue with the smooth_surface example, we introduce the Modify Edge operation. This operation can easily split an edge by adding a vertex on it. For example, box-select Edge 12 in the viewport, a new vertex will be added to where you selected the edge. Further look at the entity tree, and notice that a new Edge (Edge 18) has been created out of Edge 12.
Furthermore, if you click on “Apply” on the Modify Edge panel again, the operation will be reverted.
Grow
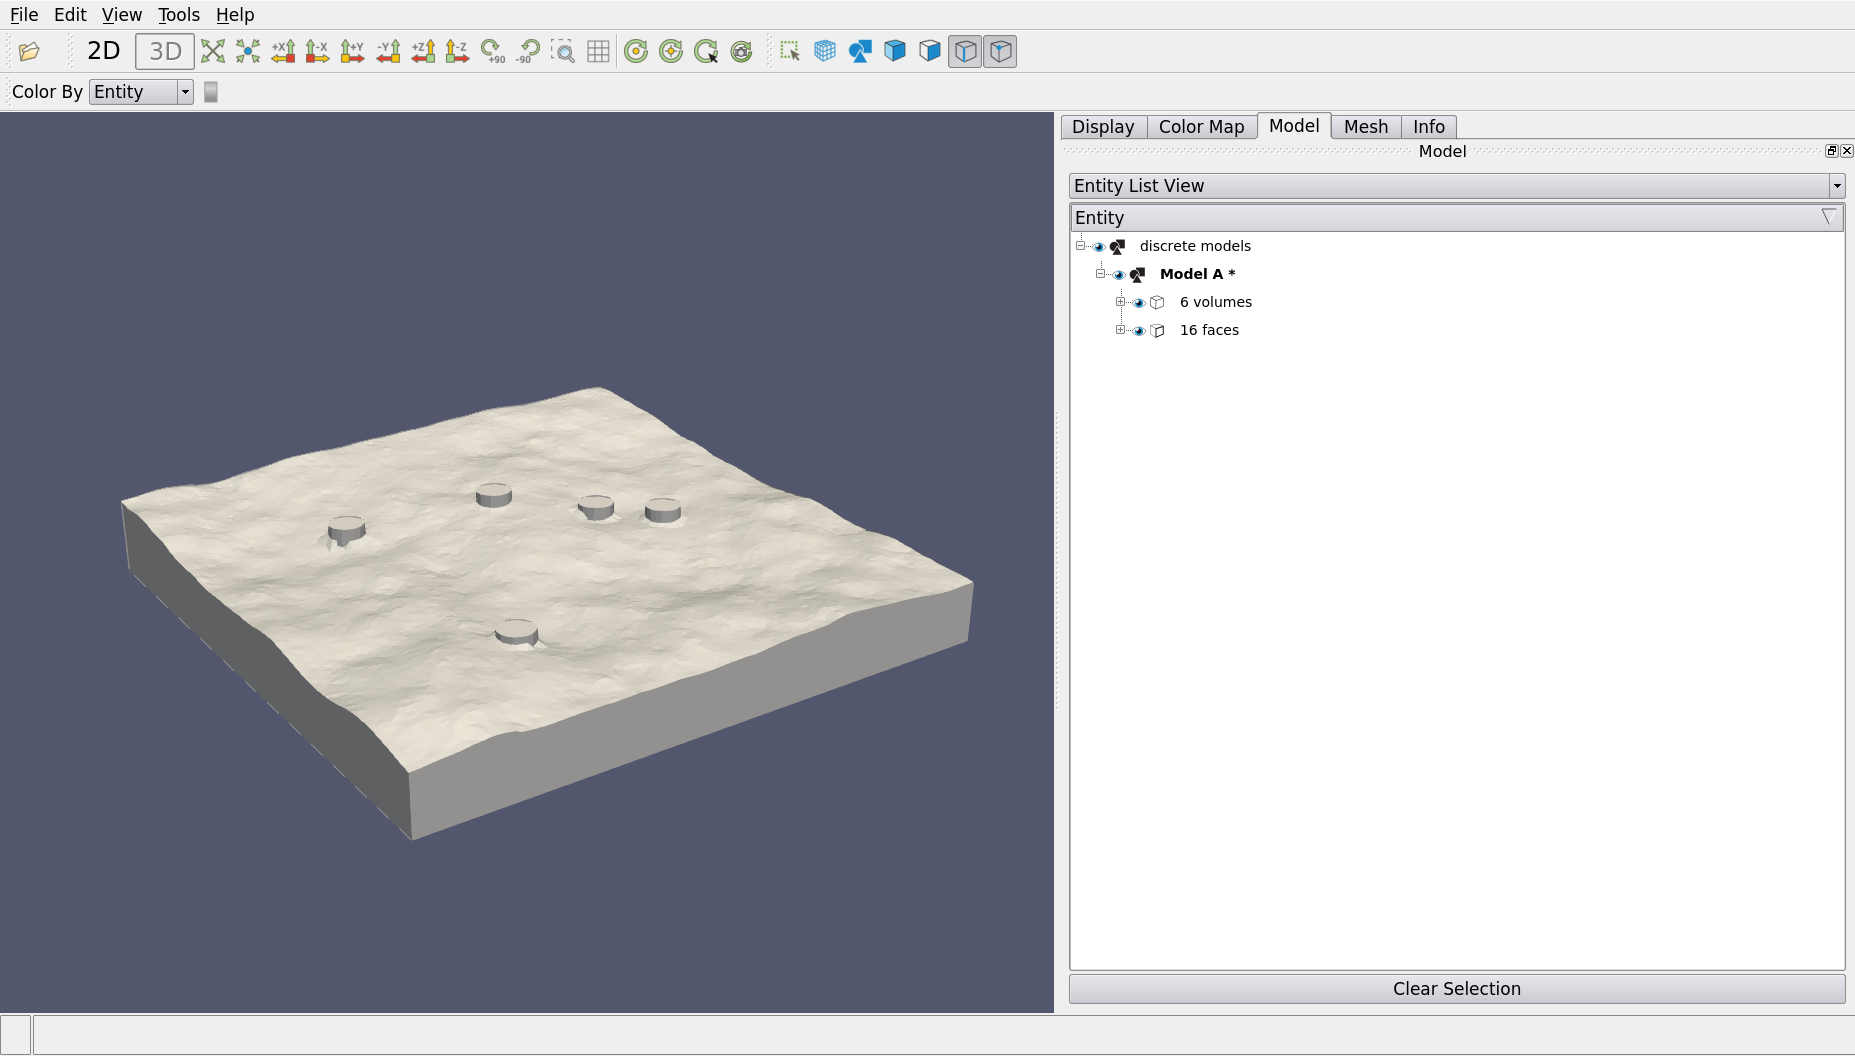
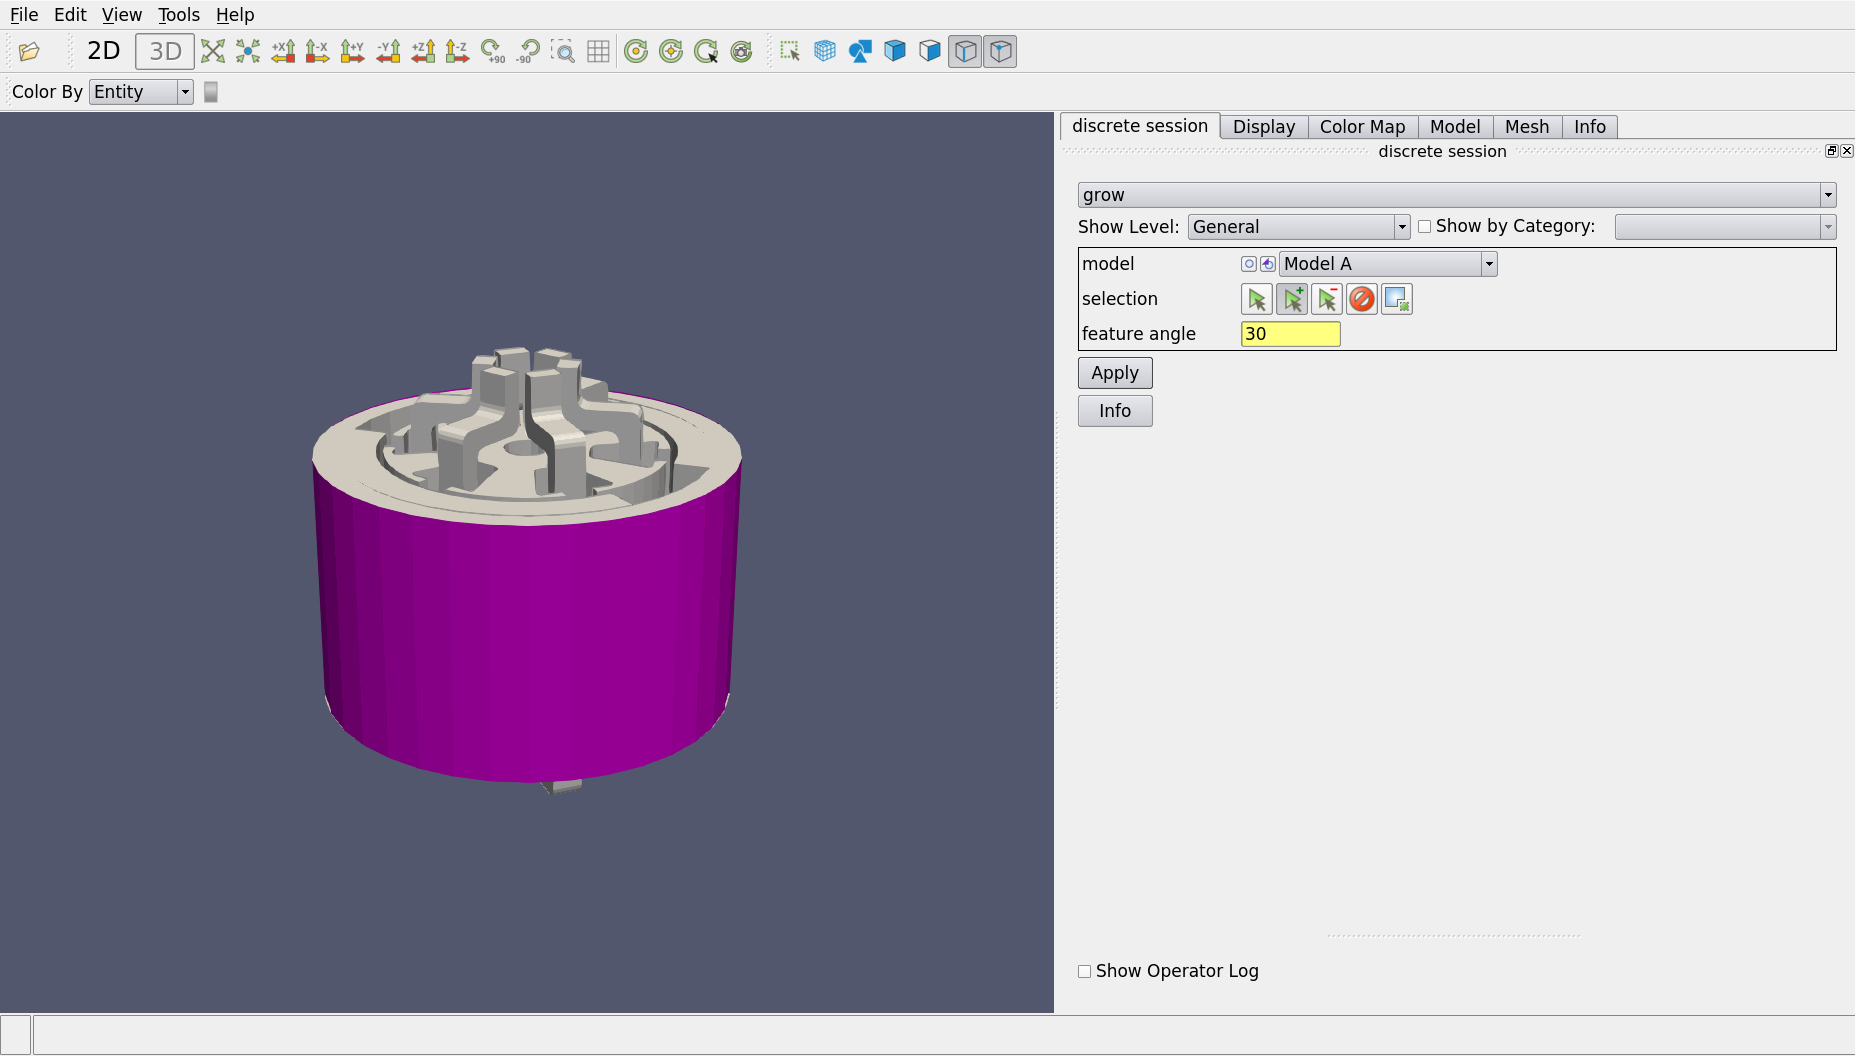
Grow is used for selecting a group of adjacent faces: select one face as a seed, specify a criteria, ModelBuilder will pick the neighboring faces of the selected faces recursively, until the angle between the norms of the selected face and its neighbor exceeds the criteria. This feature only works in 3D.
For example, clicking on one small face on the outer cylindrical surface in pmdc.cmb in grow operation selects the whole cylindrical surface.
Split Face
Selecting a face and splitting it using the feature angle. The mechanism is similar to “Grow” where the feature angle is used as a criteria to detect the neighboring faces.
Merge Face
This operation can be used to combine adjacent faces. Let us reopen smooth_surface.cmb and color the faces in the model so that we can easily see the face identities.
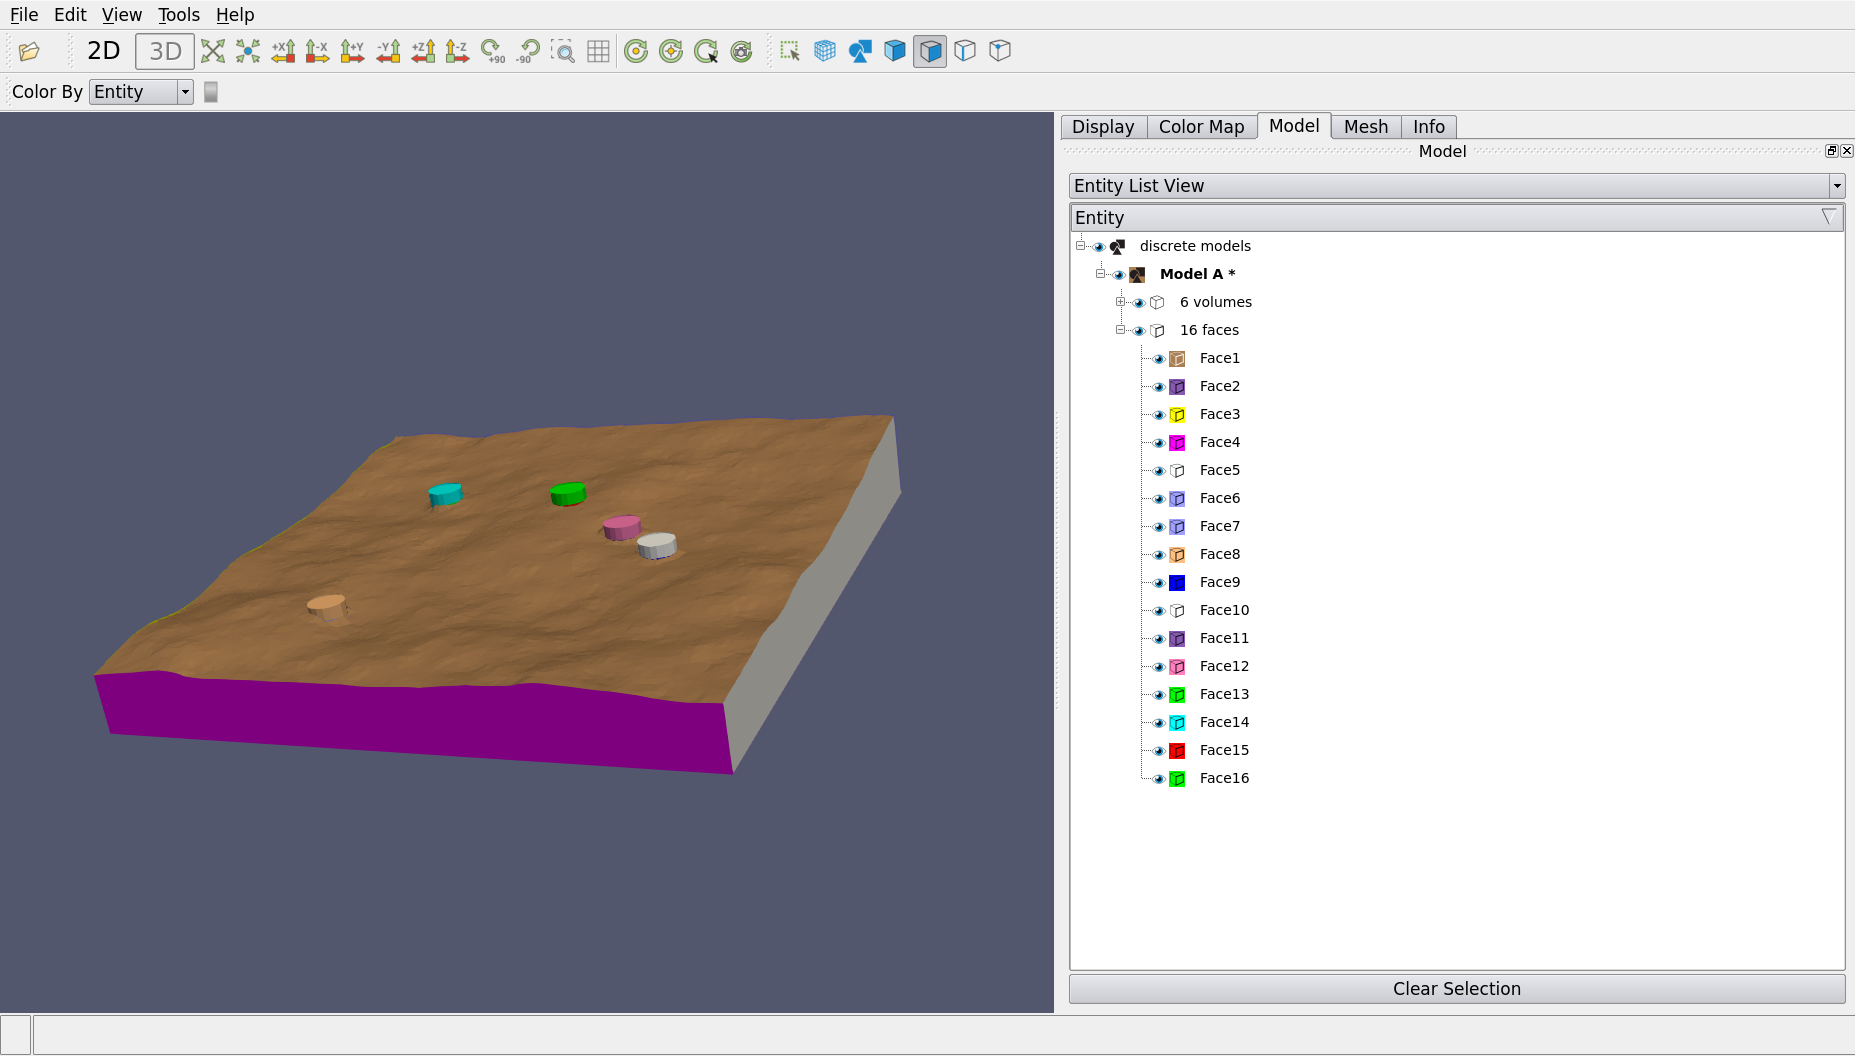
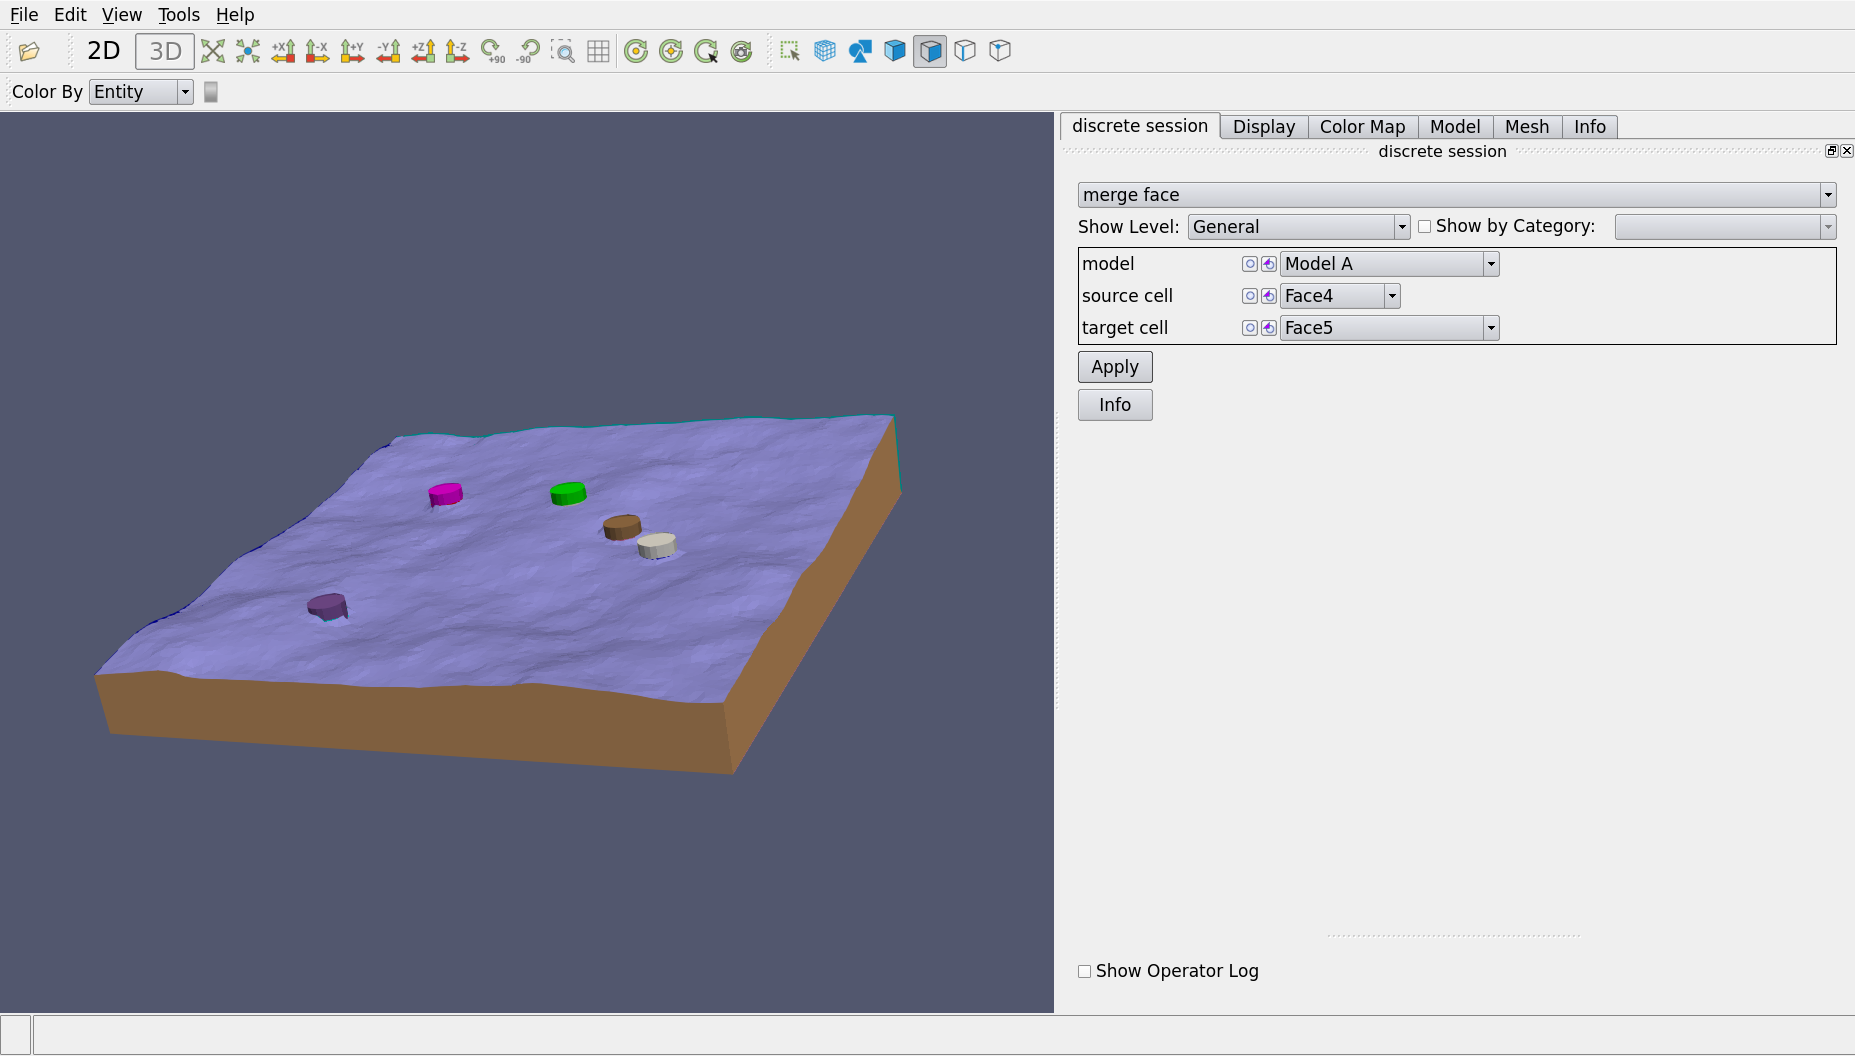
Now right-click on the model in the entity tree and select “merge face”. Specify Face4 as the source cell and Face5 as the target cell and hit “Apply”. As shown in the figure below, you can see that those two faces are merged by noticing they have the same color. (or you can check the entity list)
Entity Group
This operation creates a group based on the currently selected entities. In 2D models it creates groups of edges, while in 3D models it creates groups of faces. The groups can be edited through Modify Group and Remove Group.
Read
This opens a new model, which is equivalent to File-Open.
Write
This saves the current model.